Introduction to Textured Wall Techniques
The Appeal of Textured Walls
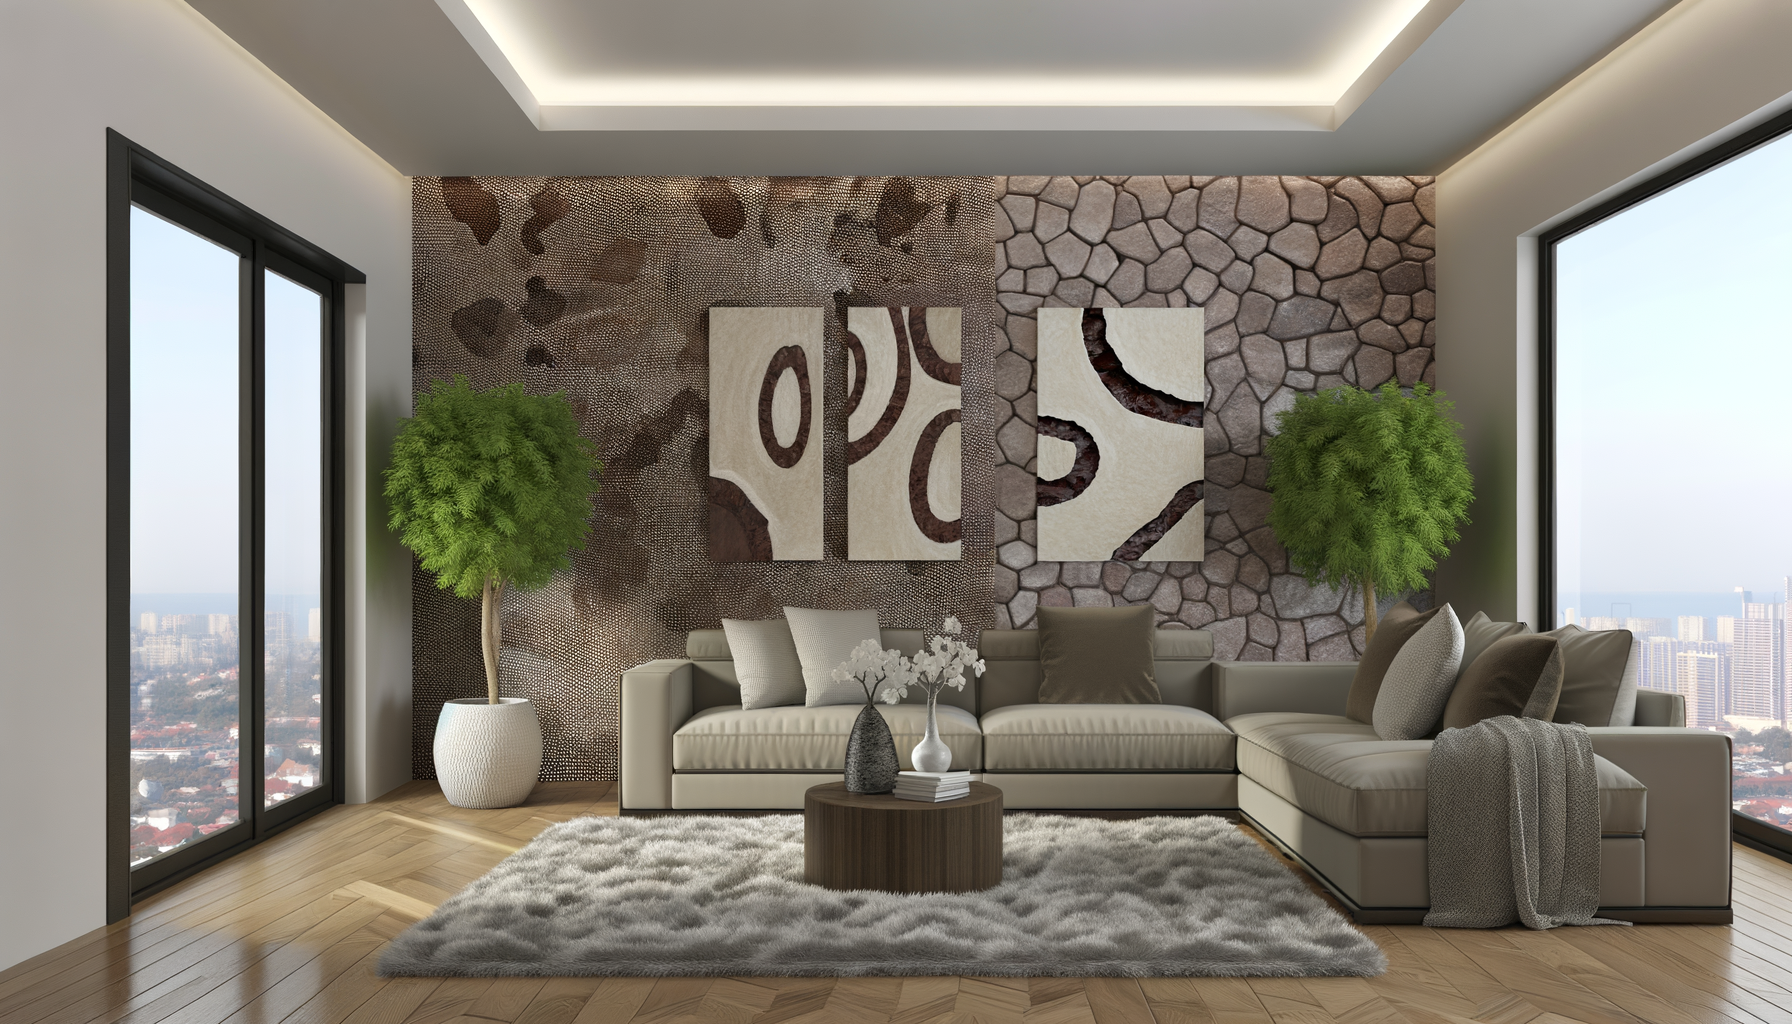
Textured walls have become a popular design choice for homeowners and interior designers alike, offering a unique way to add depth and character to any space. Unlike flat, painted surfaces, textured walls create a dynamic visual interest that can transform the ambiance of a room. Whether you’re aiming for a rustic, modern, or classic look, textures can be tailored to suit various styles and preferences. The tactile quality of textured walls invites touch and interaction, making them not just a visual feature but a sensory experience as well.
Benefits of Adding Texture to Walls
Incorporating texture into your walls offers several advantages beyond aesthetic appeal. **Firstly**, textured walls can effectively hide imperfections such as cracks, dents, or uneven surfaces, providing a more polished and cohesive look. **Secondly**, they can enhance the acoustics of a room by dampening sound, which is particularly beneficial in large or open spaces. **Additionally**, textured surfaces can add warmth and coziness, making a room feel more inviting. For those looking to sell their home, textured walls can also increase property value by adding a unique and desirable feature.
Overview of Popular Techniques
There are numerous techniques available for creating textured walls, each offering a distinct look and feel. Some of the most popular methods include:
– **Sponging**: This technique involves using a sponge to apply or remove paint, creating a soft, mottled effect that adds subtle depth.
– **Rag Rolling**: By rolling a rag over a wet glaze, this method produces a rich, layered texture that can mimic the appearance of fabric or wallpaper.
– **Brushing**: Using a brush to create patterns or lines, this technique can range from simple strokes to intricate designs, offering versatility in style.
For those seeking more advanced options, techniques like **Venetian plaster**, **knockdown texture**, and **comb texture** provide even more opportunities for creativity and personalization. Each method requires different tools and levels of expertise, allowing both beginners and seasoned DIY enthusiasts to find a suitable approach for their projects.
In summary, textured wall techniques offer a versatile and engaging way to enhance the visual and tactile qualities of a space. Whether you’re looking to conceal imperfections, improve acoustics, or simply add a touch of elegance, textured walls provide a compelling solution.
Preparing Your Walls for Texture
Assessing Wall Condition
Before diving into the exciting world of textured walls, it’s crucial to assess the current condition of your walls. Start by examining the surface for any imperfections such as cracks, holes, or uneven areas. **Smooth and clean surfaces** are essential for achieving a professional-looking texture. If you find any damage, repair it using spackle or joint compound, and sand the area until it’s smooth. Additionally, ensure that the walls are free from dust, grease, or any other contaminants that might interfere with the adhesion of the texture material. A thorough inspection and preparation will set the foundation for a successful texturing project.
Essential Tools and Materials
Equipping yourself with the right tools and materials is key to a smooth texturing process. Here’s a list of essentials you’ll need:
– **Texturing compound**: Choose a product suitable for your chosen technique, such as joint compound or specialized texture paint.
– **Application tools**: Depending on the technique, you may need sponges, rags, brushes, trowels, or combs.
– **Primer**: A good quality primer ensures better adhesion and a more uniform finish.
– **Sandpaper**: For smoothing out repairs and ensuring a clean surface.
– **Drop cloths and painter’s tape**: To protect floors and adjacent surfaces from spills and splatters.
– **Mixing tools**: If your texturing compound requires mixing, have a mixing paddle and bucket ready.
Having these tools and materials on hand will streamline your project and help you achieve the desired effect with ease.
Safety Precautions
Safety should always be a priority when undertaking any home improvement project. Here are some precautions to consider:
– **Ventilation**: Ensure the area is well-ventilated to avoid inhaling fumes from primers or texturing compounds.
– **Protective gear**: Wear safety goggles and a dust mask to protect your eyes and lungs from dust and debris.
– **Ladder safety**: If you need to reach high areas, use a sturdy ladder and follow proper ladder safety guidelines.
– **Handling materials**: Be cautious when handling heavy or sharp tools to prevent injuries.
By taking these safety measures, you can focus on the creative aspects of your project without unnecessary risks. Preparing your walls properly not only enhances the final appearance but also ensures a safer and more enjoyable DIY experience.
Basic Texturing Techniques
Creating visual interest on walls can be achieved through various texturing techniques. Among the most accessible and popular methods are **sponging**, **rag rolling**, and **brushing**. Each technique offers a unique finish and can be tailored to suit different aesthetic preferences and room atmospheres.
Sponging
Sponging is a versatile and straightforward technique that involves using a sponge to apply or remove paint, creating a soft, mottled effect. This method is ideal for beginners due to its forgiving nature and ease of application. To achieve the best results, use a natural sea sponge, as its irregular surface helps create a more organic and varied texture.
1. **Preparation**: Begin by selecting two complementary paint colors—one for the base coat and another for the top layer. Apply the base coat and allow it to dry completely.
2. **Application**: Dip the sponge lightly into the top coat paint, then dab it onto the wall in a random pattern. Rotate the sponge frequently to avoid repetitive patterns.
3. **Finishing Touches**: For a more subtle effect, use a dry sponge to gently blend the edges of the applied paint.
Sponging is perfect for adding depth and dimension to a room, making it feel more dynamic and inviting.
Rag Rolling
Rag rolling is another simple yet effective technique that creates a soft, textured appearance reminiscent of fabric. This method involves rolling a rag over a freshly painted surface to produce a unique, marbled effect.
1. **Preparation**: Choose a base color and a glaze or top coat. Apply the base color and let it dry thoroughly.
2. **Application**: Dip a clean, lint-free rag into the glaze, then twist it into a loose roll. Roll the rag over the wall in a random, crisscross pattern.
3. **Variation**: For a more pronounced texture, use a thicker glaze or apply additional layers.
Rag rolling is excellent for adding a touch of elegance and sophistication to any space, making it a popular choice for living rooms and dining areas.
Brushing
Brushing is a technique that uses a brush to create linear textures on walls. This method can range from subtle to dramatic, depending on the type of brush and the pressure applied.
1. **Preparation**: Select a base coat and a contrasting top coat. Apply the base coat and allow it to dry.
2. **Application**: Use a wide brush or a specialty texture brush to apply the top coat. Brush in long, even strokes, either vertically or horizontally, depending on the desired effect.
3. **Customization**: Experiment with different brush types and stroke directions to achieve various textures, such as strié or crosshatch patterns.
Brushing is ideal for those looking to add a modern or artistic flair to their walls, offering endless possibilities for customization.
Each of these basic texturing techniques provides a unique way to enhance the visual appeal of your walls, allowing you to express your personal style and creativity.
Advanced Texturing Techniques
Venetian Plaster
Venetian plaster is a sophisticated technique that dates back to ancient Rome, known for its luxurious and polished finish. This method involves applying multiple thin layers of plaster, which are then burnished to create a smooth, marble-like surface. **Venetian plaster** is ideal for those looking to add a touch of elegance and depth to their walls. The process requires a skilled hand, as the application involves troweling the plaster onto the wall in a series of overlapping strokes. Once the layers are applied, the surface is polished to achieve a high-gloss finish. This technique not only enhances the aesthetic appeal of a room but also adds durability to the walls.
Knockdown Texture
The knockdown texture is a popular choice for those seeking a more rustic or casual look. It involves applying a joint compound to the wall and then “knocking down” the peaks with a trowel or knife to create a flattened, mottled effect. This technique is excellent for hiding imperfections and adding a subtle dimension to walls. **Knockdown texture** is relatively easy to apply and can be customized to achieve different levels of texture, from light to heavy. The result is a unique, stucco-like appearance that adds warmth and character to any space.
Comb Texture
Comb texture is a creative and artistic technique that allows for a high degree of personalization. It involves using a toothed trowel or comb to create patterns in a wet joint compound. The patterns can range from simple lines to intricate designs, depending on the desired effect. **Comb texture** is perfect for those who want to add a unique and personal touch to their walls. This technique requires a steady hand and a bit of creativity, as the patterns are created freehand. The result is a textured wall that serves as a focal point and conversation starter in any room.
Each of these advanced texturing techniques offers a distinct aesthetic and can transform a plain wall into a work of art. Whether you prefer the classic elegance of Venetian plaster, the casual charm of knockdown texture, or the personalized flair of comb texture, these methods provide endless possibilities for enhancing your living space.
Step-by-Step Guide to Applying Texture
Choosing the Right Technique for Your Space
Selecting the appropriate texturing technique is crucial to achieving the desired aesthetic and functionality in your space. Consider the following factors when making your choice:
- Room Function: High-traffic areas may benefit from more durable textures like knockdown, while decorative spaces might be enhanced with Venetian plaster.
- Lighting: Textures can cast shadows and create depth. In well-lit rooms, subtle textures like sponging can add interest without overwhelming the space.
- Style and Mood: For a rustic feel, rag rolling might be ideal, whereas a sleek, modern look could be achieved with a smooth Venetian plaster finish.
Detailed Application Process
Once you’ve chosen the right technique, follow these steps to apply texture to your walls:
- Prepare the Surface: Ensure the wall is clean, dry, and free of any loose paint or debris. Patch any holes or cracks and sand the surface for a smooth base.
- Gather Materials: Depending on your chosen technique, you may need specific tools such as sponges, rags, brushes, or trowels. Ensure you have all necessary materials before starting.
- Apply Base Coat: For most techniques, a base coat of paint or primer is essential. Allow it to dry completely before proceeding.
- Apply Texture: Use your chosen method to apply the texture. For example, with sponging, dip a sponge into the paint and dab it onto the wall in a random pattern. For Venetian plaster, apply thin layers with a trowel, allowing each layer to dry before adding the next.
- Finishing Touches: Once the texture is applied, consider adding a glaze or sealant to protect the surface and enhance the texture’s appearance.
Common Mistakes and How to Avoid Them
Avoiding common pitfalls can ensure a successful texturing project:
- Skipping Surface Preparation: Failing to properly clean and prepare the wall can lead to poor adhesion and an uneven finish. Always start with a clean, smooth surface.
- Using the Wrong Tools: Each technique requires specific tools. Using the wrong ones can result in an unsatisfactory texture. Research and invest in the right tools for your chosen method.
- Rushing the Process: Allow adequate drying time between layers and steps. Rushing can cause smudging and uneven textures.
- Inconsistent Application: Maintain a consistent technique throughout the application to avoid noticeable differences in texture.
By carefully selecting the right technique, following a detailed application process, and avoiding common mistakes, you can successfully add texture to your walls, enhancing the visual interest and character of your space.
Maintaining and Repairing Textured Walls
Cleaning Textured Surfaces
Maintaining the aesthetic appeal of textured walls requires regular cleaning to prevent dust and grime buildup. **Textured surfaces** can trap dirt more easily than flat walls, making it essential to adopt a consistent cleaning routine. Begin by dusting the walls with a soft-bristle brush or a microfiber cloth to remove loose particles. For deeper cleaning, use a mild detergent mixed with warm water. Gently scrub the surface with a sponge, ensuring you reach into the crevices without damaging the texture. Avoid using harsh chemicals or abrasive tools, as these can erode the texture over time. Regular cleaning not only preserves the wall’s appearance but also extends its lifespan.
Repairing Damage
Despite their durability, textured walls can suffer from chips, cracks, or other forms of damage. **Repairing these imperfections** is crucial to maintaining the wall’s visual appeal. Start by assessing the extent of the damage. For minor chips or cracks, use a patching compound that matches the wall’s texture. Apply the compound with a putty knife, smoothing it to blend seamlessly with the existing texture. For larger areas of damage, you may need to reapply the original texturing technique. Always allow the repair to dry completely before painting or further texturing. This careful attention to detail ensures that repairs are virtually invisible.
Reapplying Texture
Over time, you may find the need to refresh or completely reapply texture to your walls. **Reapplying texture** can revitalize a space and address any inconsistencies that have developed. Begin by preparing the wall surface, ensuring it is clean and free of any loose material. Choose a texturing technique that complements the existing decor or introduces a new aesthetic. When reapplying texture, consistency is key. Use the same tools and materials as the original application to achieve a uniform look. If you’re experimenting with a new technique, consider practicing on a small section first. This approach allows you to perfect your method before tackling the entire wall. Reapplying texture not only enhances the room’s visual interest but also provides an opportunity to update the space’s style.
Conclusion and Final Tips
Recap of Key Points
As we conclude our exploration of textured wall techniques, it’s essential to revisit the key points that can transform your living space into a visually captivating environment. Textured walls offer a unique blend of aesthetic appeal and practical benefits, such as hiding imperfections and adding depth to a room. We discussed a variety of techniques, from basic methods like **sponging** and **rag rolling** to more advanced options such as **Venetian plaster** and **knockdown texture**. Each technique offers its own set of characteristics and challenges, making it crucial to choose the right one for your specific needs and style preferences. Proper preparation, including assessing wall conditions and gathering the necessary tools, is vital for achieving the best results. Additionally, maintaining and repairing textured walls ensures their longevity and continued appeal.
Encouragement for DIY Enthusiasts
For those who love to take on DIY projects, textured wall techniques present an exciting opportunity to express creativity and personalize your home. While some methods may seem daunting at first, remember that practice makes perfect. Start with simpler techniques to build your confidence, and gradually work your way up to more complex textures. Don’t be afraid to experiment with different tools and materials to achieve the desired effect. The satisfaction of transforming a plain wall into a work of art is well worth the effort. Embrace the process, and enjoy the journey of learning and creating.
Additional Resources for Learning
To further enhance your skills and knowledge in textured wall techniques, consider exploring additional resources. **Online tutorials** and **video demonstrations** can provide visual guidance and step-by-step instructions. Books and magazines dedicated to home improvement and interior design often feature articles on wall texturing. Joining online forums or local DIY groups can also offer valuable insights and support from fellow enthusiasts. For those seeking professional guidance, workshops and classes led by experienced artisans can provide hands-on experience and personalized feedback. By leveraging these resources, you can continue to refine your techniques and discover new ways to add visual interest to your walls.